What Are Thermal Paper Labels and How Do They Work?
Thermal Paper Labels are widely used for shipping, retail, inventory, and product identification. They create text and images through heat rather than ordinary ink. In direct thermal printing, a printer’s heated printhead touches specially coated paper. Selected areas darken, forming barcodes, dates, prices, or tracking details. No ink cartridge is needed. The process is quick.
That simplicity can be misleading. The coating reacts to heat, and the finished label may also be affected by sunlight, friction, or warm storage. A shipping label used for a few days has different demands from a product label expected to remain readable for months. In practice, choosing the right paper means considering its environment, the printer, and how long the information must last.
This guide explains how Thermal Paper Labels work, what happens inside a thermal printer, and where these labels are most useful. It also distinguishes direct thermal labels from thermal transfer labels, which use a ribbon to transfer ink onto the label surface. The difference matters: the two methods can look similar, but they suit different jobs. A small test print can reveal issues such as faint text or unreadable barcodes before a full roll is used. Even then, no label choice is perfect for every setting. Understanding the trade-offs helps businesses select labels with clearer expectations and fewer avoidable surprises.
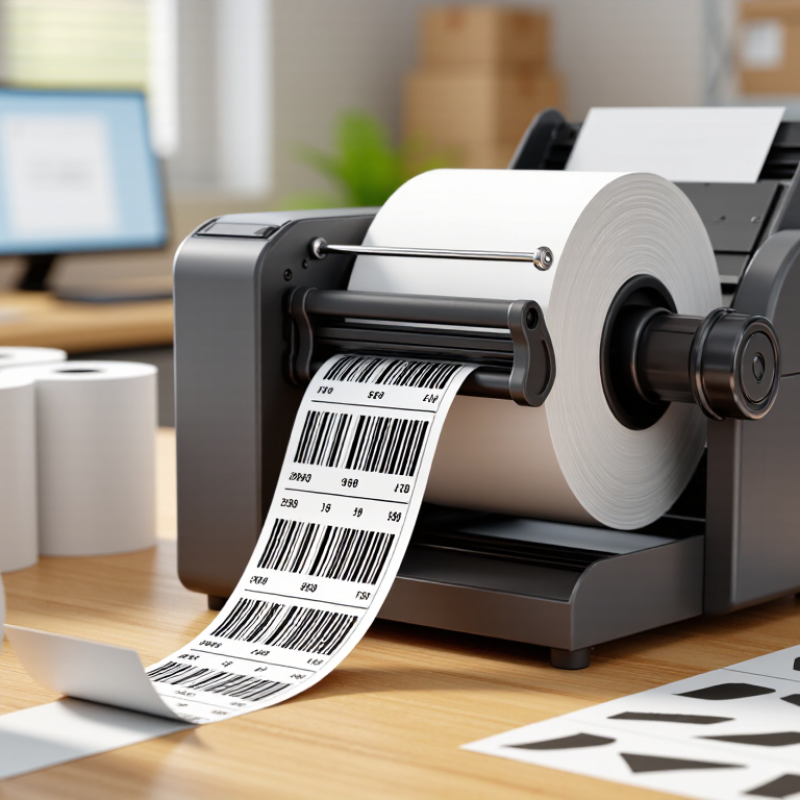
What Thermal Paper Labels Are and How They Are Structured
Thermal paper labels are built in layers. The face stock is usually paper with a heat-sensitive coating. Some labels include a clear topcoat that helps resist moisture, oils, or abrasion. Beneath the face stock sits a pressure-sensitive adhesive, which bonds the label to a surface. A silicone-coated release liner protects the adhesive until use. The layers are thin, but each has a job.
In a direct thermal printer, a heated printhead touches the coated surface. Heat triggers a reaction between materials in the coating, creating dark text or images. No ink ribbon is needed. Simple. The label’s structure affects print clarity, durability, and how well it sticks to cartons, jars, or chilled packaging. Not every coating suits every setting; heat, sunlight, and friction can fade or damage the image. It is easy to overlook that limitation.
Tips
Match the label to its surface and storage conditions. For a cold container, test adhesion after condensation forms. Keep unused rolls away from heat and direct sunlight. Check a sample print before ordering a large quantity; small differences in coating can matter.
How Heat-Sensitive Coatings Respond to Thermal Energy
Thermal paper labels respond to heat through a thin, heat-sensitive coating. In direct thermal material, this coating typically contains a color-forming dye and a developer. At room temperature, they remain largely separate. When a printer’s heated dots touch the surface, the coating warms and the ingredients react, creating a dark mark. It happens quickly. No ink ribbon is needed.
Each tiny heating element controls one area of the label. More heat, or a slower print speed, can produce darker marks; too little heat may leave text faint. The exact response depends on the coating, printer settings, and label stock. A barcode that looks clear on screen may still print poorly if the temperature is uneven. Small differences matter.
The reaction also explains why these labels can change outside the printer. Prolonged warmth, friction, or strong light may cause background darkening or fading over time. A label stored near a sunny window might not stay crisp. Thermal coatings are useful, but they are not indestructible. Their lifespan varies, and real storage conditions can be less controlled than a test room. That part is easy to overlook.
What Are Thermal Paper Labels and How Do They Work?
Typical temperature ranges involved in thermal printing
A thermal printhead applies brief, localized heat to a heat-sensitive coating. This activates the coating’s color-forming chemistry, creating an image without ink. Activation temperatures vary by paper formulation, and printhead operating temperatures vary by printer.
How Thermal Printers Create Text and Images on Labels
Inside a direct thermal printer, a row of tiny resistive elements forms the printhead. Each element heats at a controlled moment as the label moves beneath it. The label’s surface has a heat-sensitive coating, usually containing color-forming chemicals. Heat triggers a reaction that darkens selected spots. The printer switches these spots on and off, building letters, barcodes, and simple graphics as a grid of dots. Tiny dots add up. A narrow, clean printhead can produce sharper edges, while dust or adhesive residue may leave pale streaks. The mechanism is simple, but not magic.
A sensor and feed mechanism keep each label aligned while the printhead applies heat. The printer’s software translates text or barcode data into a dot pattern, then coordinates heating with label movement. Too little heat can make characters faint; too much may blur edges or darken nearby areas. Direct thermal labels need no ink ribbon, though sunlight, friction, and heat can gradually fade them. Some thermal printers instead use a heated head to transfer ink from a ribbon onto the label. That method can suit longer-lasting marks, but adds material to load and maintain. Results vary with coating, storage, and settings. Testing labels under real handling conditions can reveal wear that specifications alone may not predict.
What Are Thermal Paper Labels and How Do They Work? — How Thermal Printers Create Text and Images on Labels | Topic | How It Works | Practical Details |
| Thermal paper labels | Labels made with a heat-sensitive coating that changes color when heated by a printer’s thermal printhead. | They can be printed without ink or toner. The label itself contains the coating that forms the image. |
| Direct thermal printing | The printer selectively heats tiny elements in its printhead. Heated areas of the label coating darken to create text, barcodes, and graphics. | No ribbon is used. The process is simple, but printed images can fade with heat, light, friction, or time. |
| Thermal transfer printing | The printhead heats a coated ribbon, transferring ink from the ribbon onto the label surface. | It requires a ribbon and compatible label stock. The resulting print can be more resistant to environmental exposure, depending on the materials selected. |
| How an image is formed | Print data controls which printhead elements heat up and when. As the label moves past the printhead, heated dots combine to form the requested image. | Text, lines, and barcode patterns are built from rows of printed dots. |
| Print resolution | Resolution describes the number of print dots per inch (dpi) that a printer can produce. | Common printer resolutions include 203 dpi and 300 dpi. Higher resolution can help reproduce small text and detailed graphics. |
| Label material | Direct thermal labels use a heat-sensitive face stock. Thermal transfer labels are selected to work with a suitable ribbon. | Paper is common for everyday labeling; synthetic label materials may be used when greater moisture or abrasion resistance is needed. |
| Typical applications | Thermal printers produce labels for shipping, retail, inventory, ticketing, and product identification. | The best print method depends on the label’s expected lifespan, storage conditions, surface, and exposure to heat or sunlight. |
| Choosing a method | Direct thermal is often suitable for short-term labels where simple printing and no ribbon are priorities. Thermal transfer is often chosen when a longer-lasting image is required. | Check printer compatibility and test the label and ribbon combination under the conditions in which the label will be used. |
Types of Thermal Printing Used for Labels
Thermal paper labels form images when heat changes a coated surface. The printer controls small heating elements in its printhead, creating text, barcodes, or simple graphics as the label moves across it. Two methods are common: direct thermal and thermal transfer. Both use heat, but they produce images differently.
Direct thermal printing heats the label itself. No ribbon is needed. It suits shipping labels, receipts, and short-term inventory tags, where fast printing and fewer supplies are useful. However, heat, sunlight, and friction can darken or fade the image. A label left near a sunny window may become harder to scan. Storage conditions matter.
Thermal transfer printing uses a heated printhead to melt ink from a ribbon onto the label material. The resulting image is often more resistant to smudging and environmental wear, depending on the ribbon and label combination. It can work well for product identification or longer-lasting asset labels. It also requires ribbon changes and careful material matching. A test print is sensible; specifications do not always predict performance in a real workspace. Choose based on label life, exposure, and scanning needs—not speed alone.
Common Applications and Factors Affecting Label Performance
Thermal paper labels are common on shipping cartons, retail price tags, warehouse bins, and food containers marked with preparation dates. A heated print head darkens a heat-sensitive coating, creating text or barcodes without liquid ink. The process is fast. That matters when staff print hundreds of labels during a busy shift.
Performance depends on the label’s surroundings. Heat, sunlight, and friction can fade or darken the image, while moisture may blur it. A label stored beside a warm oven may become unreadable sooner than one kept in a cool cabinet. The adhesive also matters: a smooth plastic tub and a dusty cardboard box do not offer the same surface. Even a clear print can fail if the label lifts at the corners.
Choose the label for its actual job, not just its price or appearance. Direct thermal labels suit short-term use, while applications needing longer image life may require a different material. Test a sample on the intended package and expose it to normal handling. This step is easy to skip. It is also where assumptions often show up: a barcode may scan at the printer but fail after days in transit. Regular checks can reveal fading, smudging, or poor adhesion before the labels are used at scale.